Domo, I’ve published my usual wan2.1 image to video workflow on civitai, but I think you probably don’t understand how to use it at a quick glance, so I’d like to explain it in detail for beginners who have just started using wan2.1, with basic and easy-to-understand explanations! I would like to explain each group in detail with basic and simple explanations! (link below)(This article was translated using DeepL translation.)
Wan2.1 img2vid workflow – v1.0 | Wan Video Workflows | Civitai
model
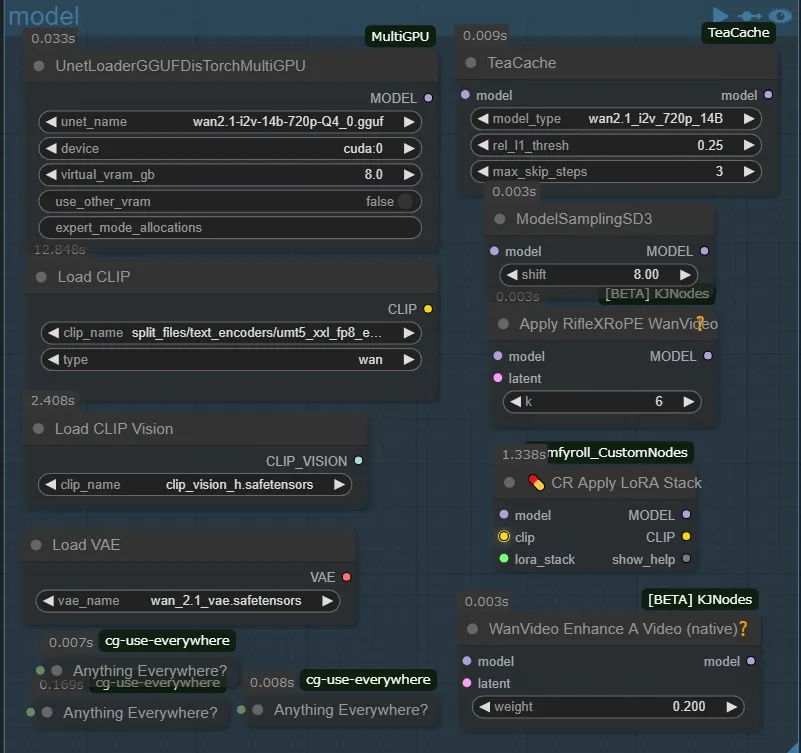
The main part is usually not modified much, the node on the top left is the node to load the quantized model, the device can choose whether to load the model to cpu or gpu, but it is not worthwhile to set it to cpu, it is a setting for those who have multiple gpu, virtual_virtual_gb is a setting for the model that should be loaded to vram. vram_gb will load the model into the specified amount of ram (for example, for a 10GB model, if you set 8.0, 2GB will be loaded in vram and 8GB in ram). This model has a function called DisTorch, which I won’t go into details about, but it eliminates the aforementioned problem. I tried to compare the speed of the two states, one with no virtual_vram allocated and the other with 10GB allocated (amazing!). Incidentally, Load Clip has a similar node, so if you have plenty of vram, you may want to replace it with that one.
The Teacache node on the top right is for speeding up the second half of the generation by skipping unnecessary processing (about 30-40% reduction, please refer to the official table as there are appropriate values for each model). The RifleXRoPE node is for extending the maximum number of video seconds. The maximum recommended in Wan2.1 is 81 frames…that is, 5 seconds. Stack node, but you don’t need clip to apply LoRA on Wan2,1, but if you don’t connect it to the input, an error will occur, so I just connect the input and output only the model. I don’t know much about it because I only create illustration type videos, but I think it’s a good idea to include it.
Model download and placement location
*gguf models are
city96/Wan2.1-I2V-14B-720P-gguf
city96/Wan2.1-I2V-14B-480P-gguf ComfyUI/models/unet
Comfy-Org/Wan_2.1_ComfyUI_repackagedの split_files/clip_vision/clip_vision_h.safetensors ComfyUI/models/clip_vision
split_files/text_encoders/umt5_xxl_fp8_e4m3fn_scaled.safetensors ComfyUI/models/clip ←(Is this different for some people? I was in this folder)
split_files/vae/wan_2.1_vae.safetensors ComfyUI/models/vae
Lora

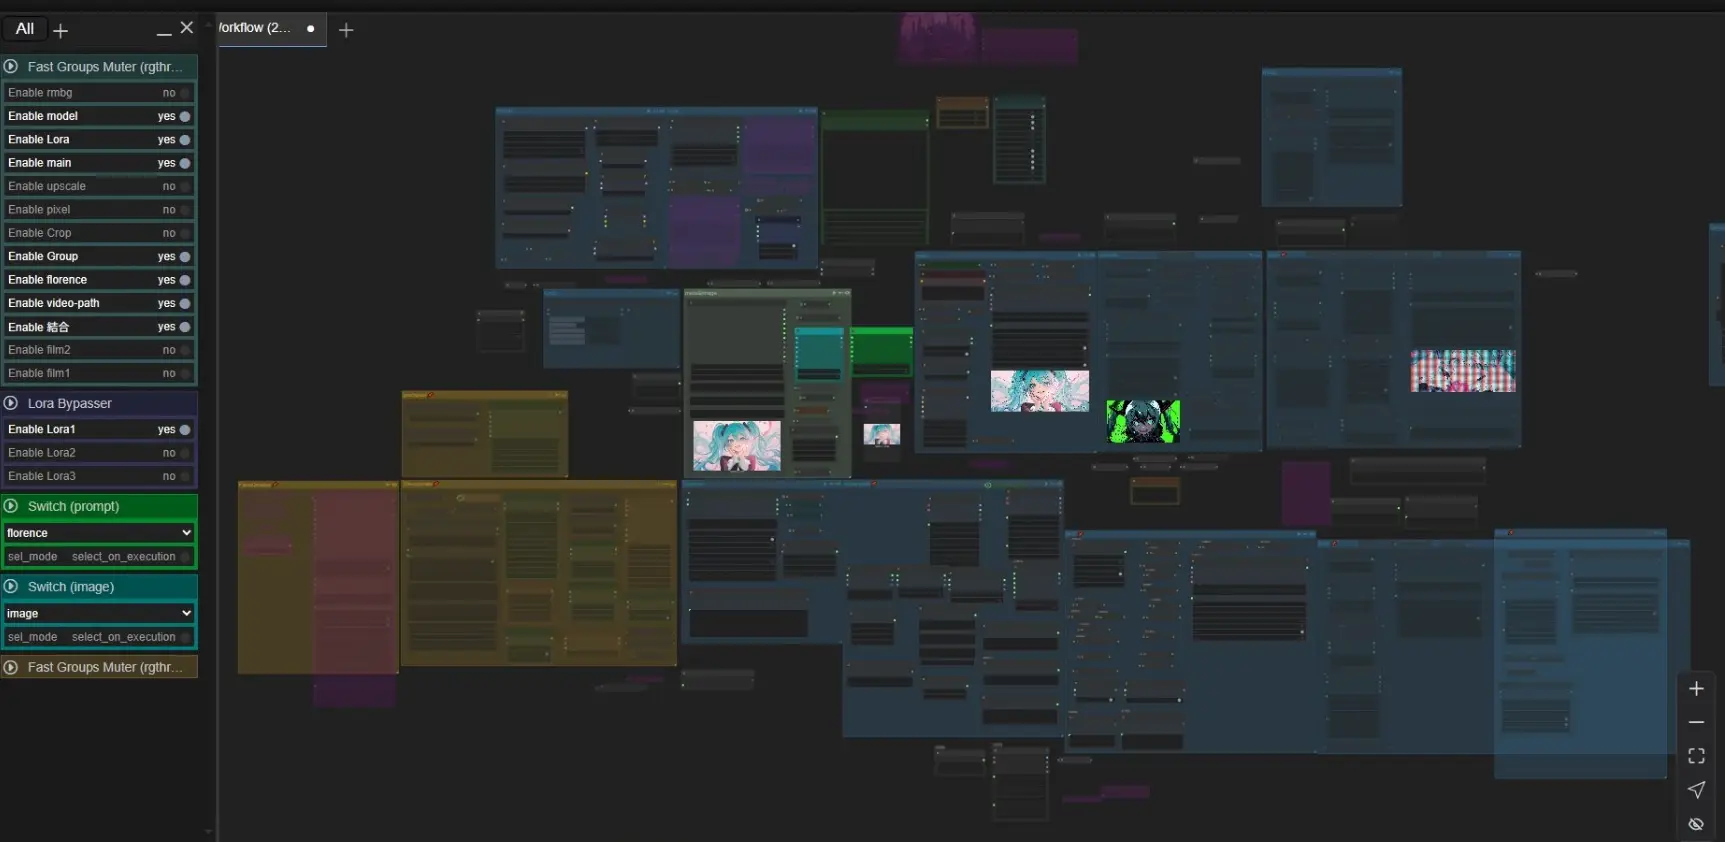
In the Lora group, I made it so that each of the 3 loras can be bypassed with one button. At first I was going to be able to use multiple loras with one LoRA Stack node, but that turned out to be inconvenient, so I decided on this format. I have added the triggerWord and lora_weight to the file name (the model name is too long, so I added the triggerWord). One thing to note is that if you mute this group, an error will occur, so be sure to bypass it!
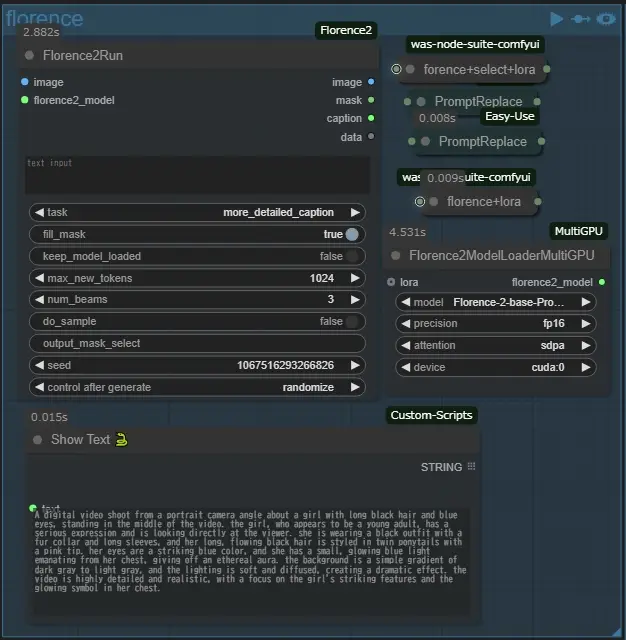
image&prompt
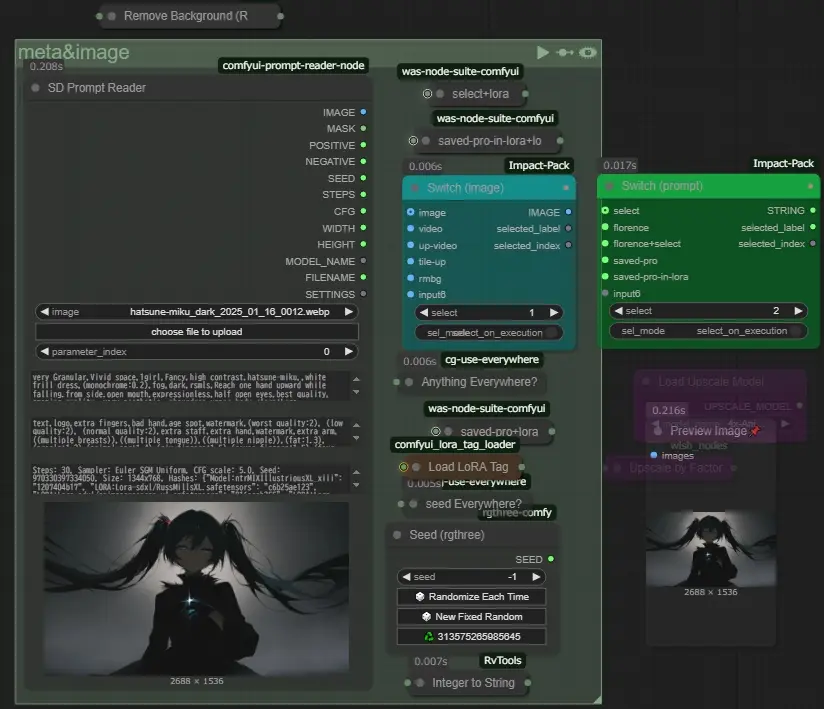
The prompt stored in the image is read using SD Prompt Reader, the file name is used for the generated video, and the seed value is converted to a string and appended to the file name. up-video uses the same image as the video one after upscaling, and tile-up uses the image after redrawing it using a tile control net, etc.

Switch (prompt) to select the prompt to use, any of them will add a triggerWord if lora is applied, select will use the prompt selected from mel_TextSplitNode above, and florence will use the prompt generated from the image using frorence2 below. The model can be downloaded from below and placed in a folder in ComfyUI/models/LLM, florence+select will apply both prompts, saved-pro will use the lora information from the prompts saved in the image. The saved-pro is used to exclude the lora information from the prompt saved in the image, which is why it is passed through the Load LoRA Tag, while saved-pro-in-lora is used as is, because the lora information sometimes gives interesting results to the video.
MiaoshouAI/Florence-2-base-PromptGen-v2.0 · Hugging Face 約3.3G or
MiaoshouAI/Florence-2-base-PromptGen-v2.0 · Hugging Face 約1.1G measured version
main
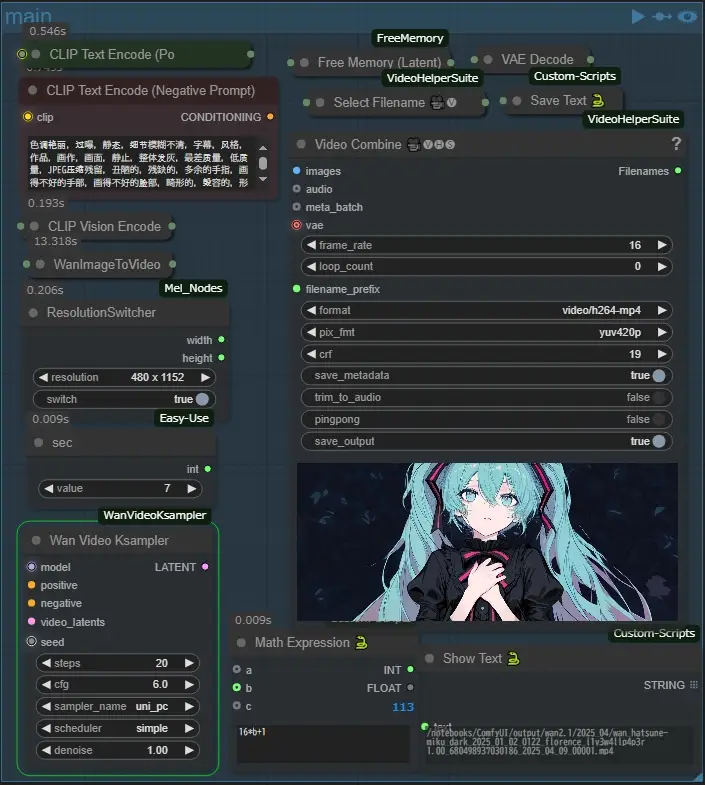
In the main group, there are only two nodes that are mainly manipulated: the ResolutionSwitcher, which immediately changes the resolution of the video to any resolution that is appropriate, and the sec node, which is used to change the number of seconds in the video, which in wan2.1 is 16+1 frames per second. In my workflow, I save the output name of the video to a text file and use it in other groups (default filename is “wanvideo”). (The default filename is wanvideo.txt.) This saves me the trouble of entering the file path when using each group as a standalone (I recommend that you generate it once before using it, as you may get errors when using groups below this one if you generate it for the first time). (If this is the first time you generate a group, you may get an error when using a group below this one.)
upscale
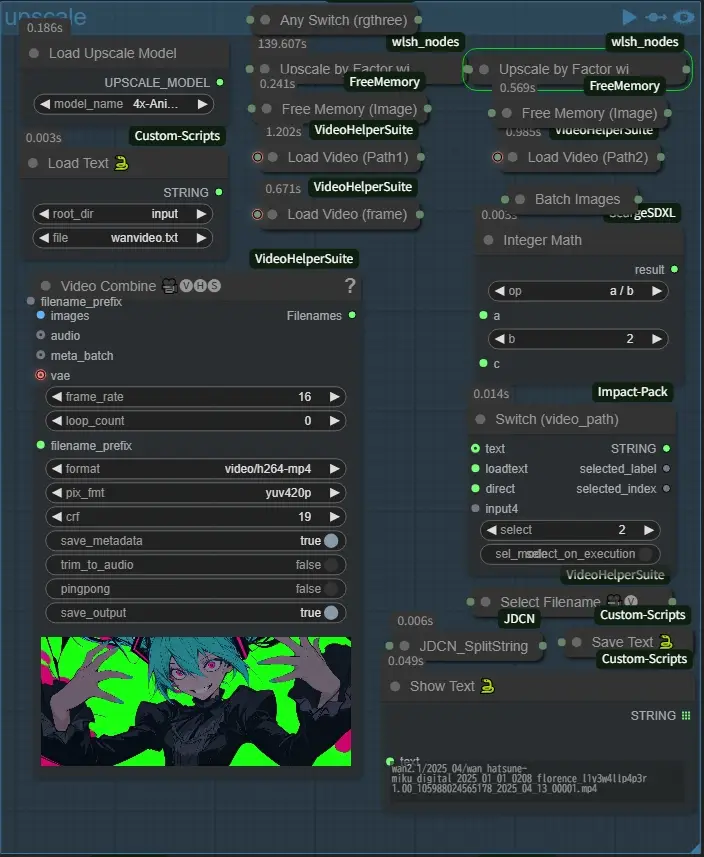
In the upscale group, select the fullpath of the directory where the video to be upscaled is stored in Switch (video_path), use the text entered in the text box outside the range above, and loadtext is the text saved in the upper left corner in Load Text 🐍. When upscaling, the video is divided into two halves. This is because ComfyUI often stalls during this process in my environment. I think it is due to lack of RAM because when it froze, RAM was at 99%. If you have too much RAM, there is a high possibility that the process will stop in the middle of this node. Default output name: upscale.txt
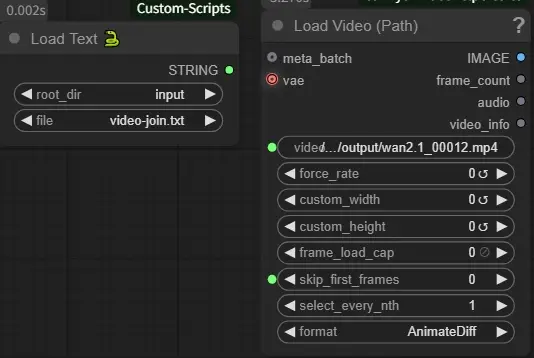
video-path
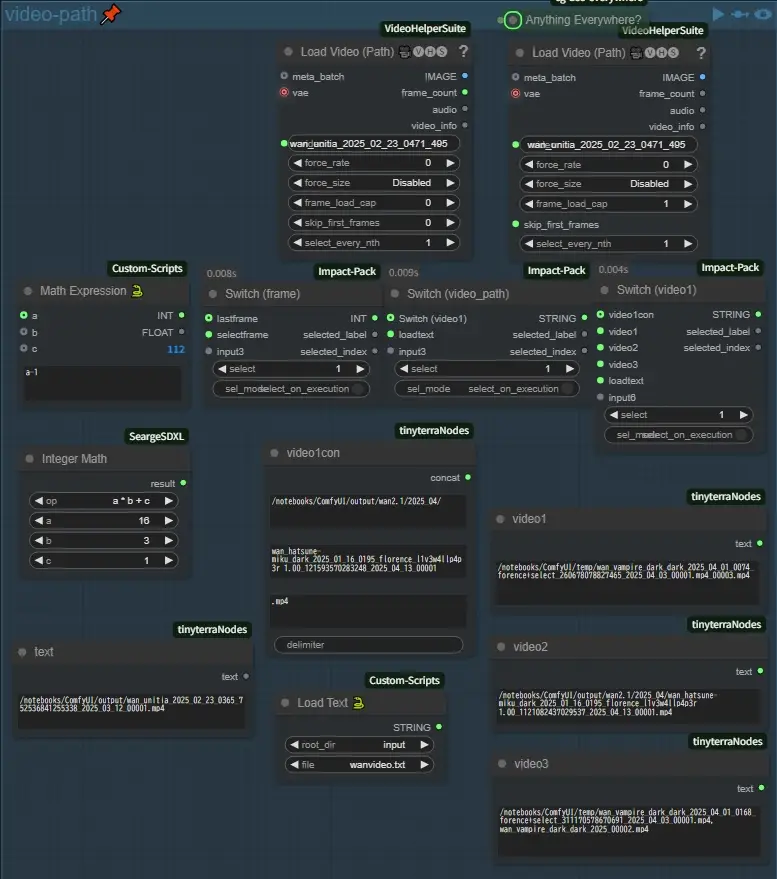
This group specifies the path of the video to be used in Switch (image) and the video path to be used in the video-join group described next. The left one is used to read the number of frames and calculate the last frame, but the frame used can be changed with Switch (frame).
結合
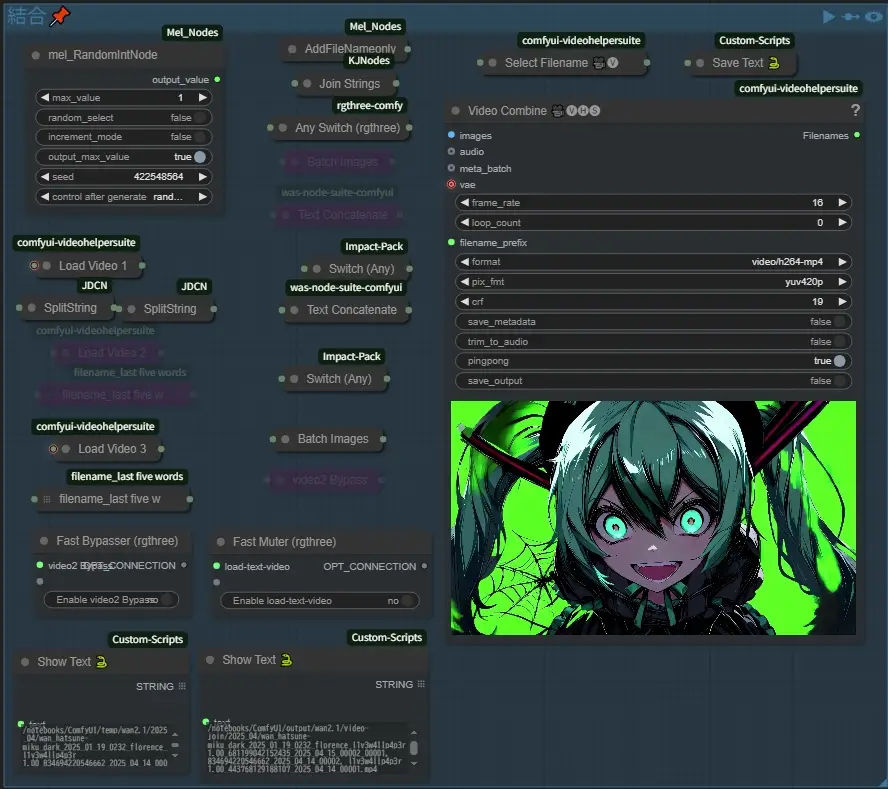
The INT in the upper left corner uses two videos for 1 and three videos for 2, and I tried to enter the filenames of all the videos I used, but it was too long and generated an error. (I tried many times, so save_output is initially false for the groups below this one, so be careful if you want to save it. First, turn off the Fast Bypasser and Fast Muter connections as shown in the image above, then set the Video Combine pingpong to true and press the cue for this group, Default output name: video-join.txt
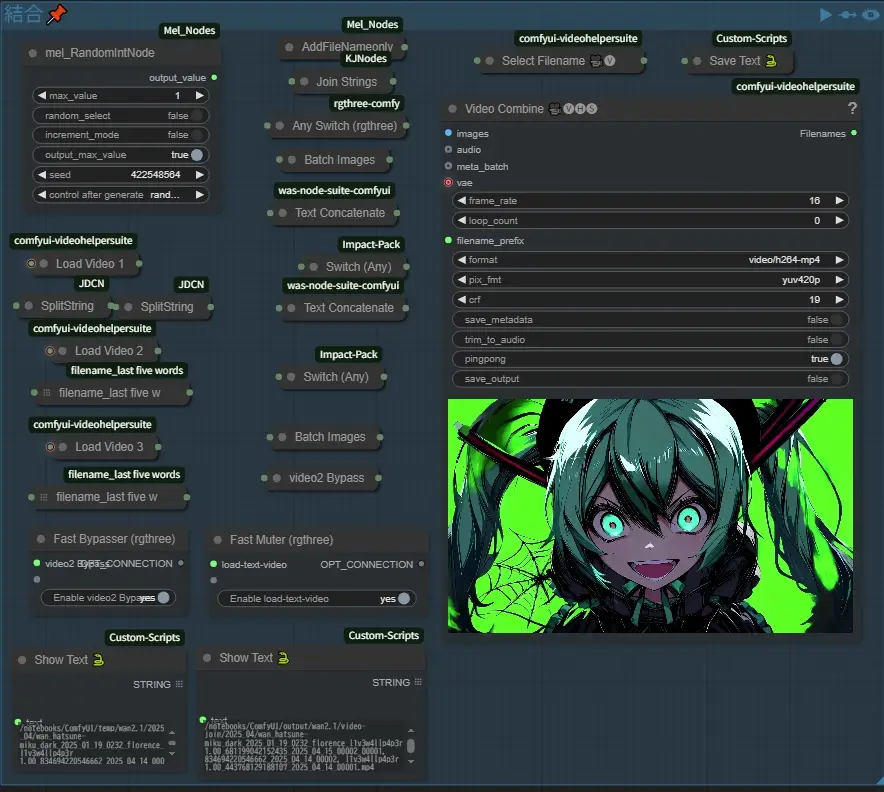
Next, turn on Fast Bypasser and Fast Muter and press cue on the group again (pingpong can be left on if it seems to loop nicely).
I think the two videos are now nicely connected, and you can see the node in the image above in the lower left corner of this group, which is the one connected by Fast Muter, which skips the frame of video1 as it is, so only the back half is used (I don’t know if it depends on the format of the video, but the color tones change slightly… I’m still thinking about this). (I don’t know if it depends on the format of the video, but the color tones change slightly when the Video Combine is repeated… this is something I’m still thinking about)
film1,film2
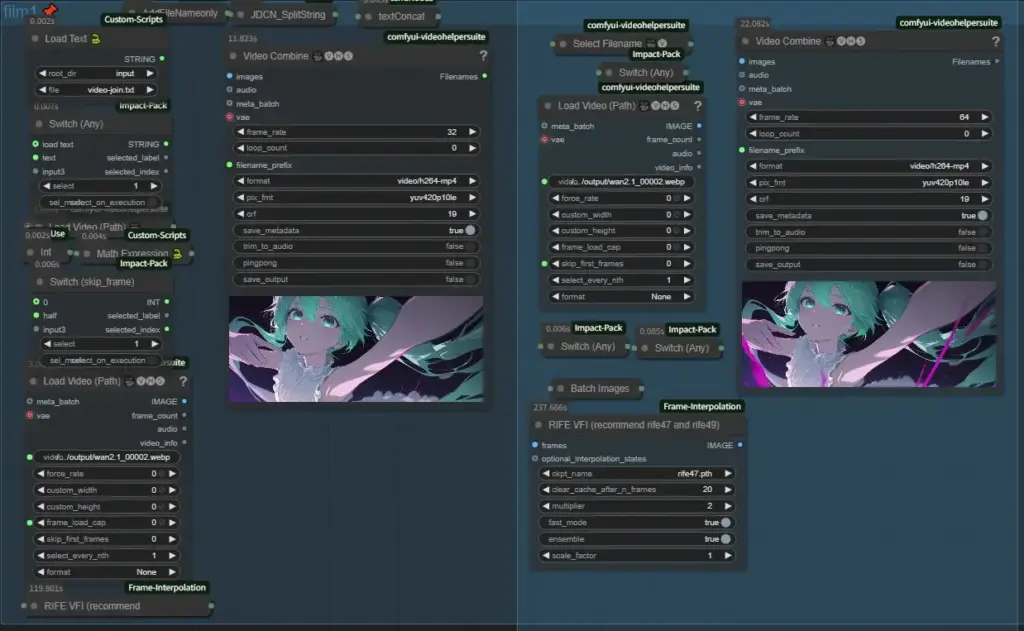
This group performs frame interpolation to convert the fps of the video to 32 or 64 fps. When switch (skip_frame) is set to 1, it is normal, but when it is set to 2, one movie is processed half by film1 and half by film2.
Image Regeneration
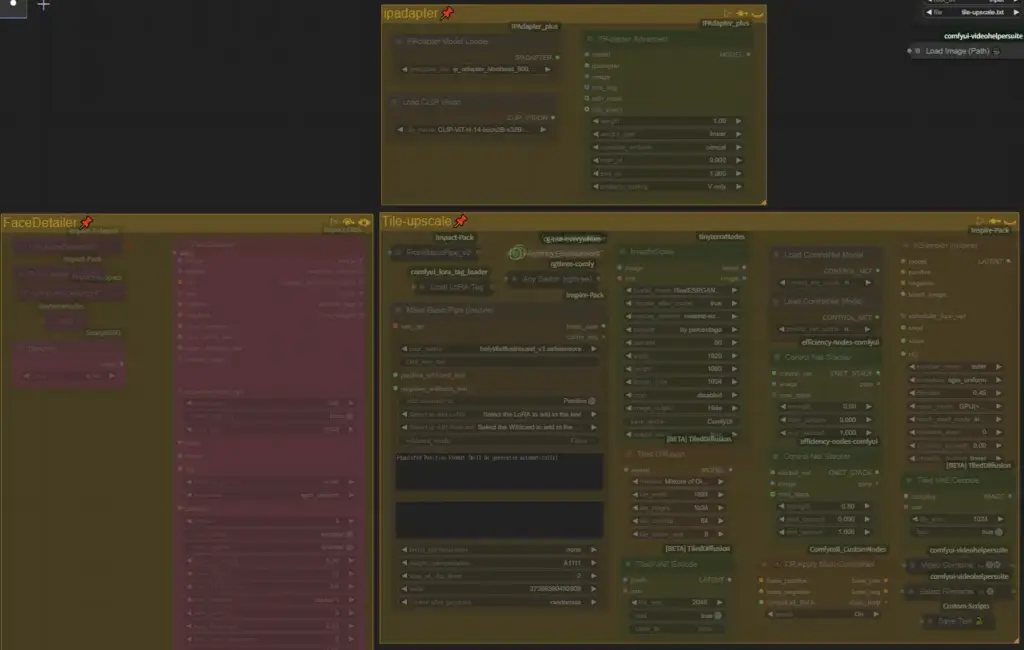
It is used to clear blurry images by using ipadapter and tile control nets, etc. to regenerate the image while maintaining the original image composition, FaceDetailer is rarely used and can be removed (it is supposed to use the image metadata) (It is supposed to use the metadata of the image).
pixel
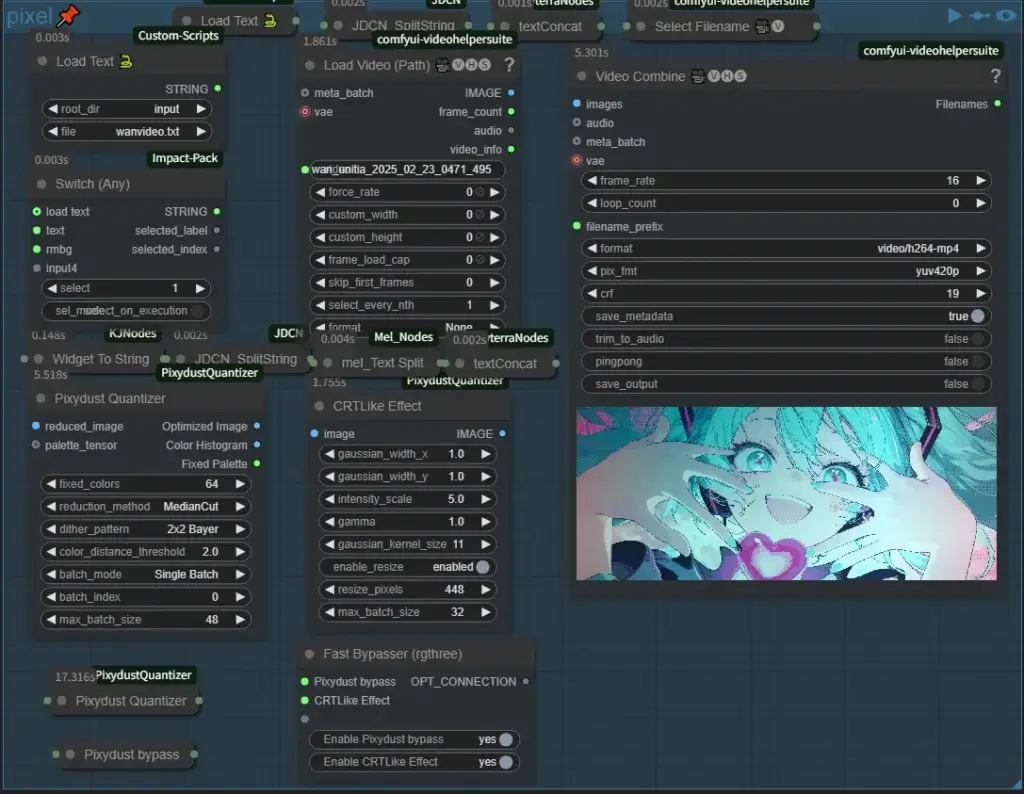
In this group, Hiro’s ComfyUI-PixydustQuantizer custom node can be used to change videos to look like retro-game style or fine pixel animation, and this custom node is great without exaggeration! If you like this unique atmosphere, you will love it. It is interesting just to experiment with different settings, because you can make a lot of changes just by changing a few settings! I’ll write about the detailed effects of each setting some other time, but I have one concern, I don’t know if this is due to my environment or not, but I got a numpy related error at first… If you get the same error as me, please add the following code to line 114 of pixydust_quantizer.py
    # ヒストグラム配列の形状を統一するヘルパー関数
        def resize_array(arr, target_shape):
            # まず切り詰め(targetより大きい場合)
            slices = tuple(slice(0, min(s, t)) for s, t in zip(arr.shape, target_shape))
            resized = arr[slices]
            # 不足している場合はゼロでパディング
            pad_width = []
            for current, target in zip(resized.shape, target_shape):
                pad_width.append((0, target - current))
            resized = np.pad(resized, pad_width, mode='constant', constant_values=0)
            return resized

        # 最初のヒストグラムの形状を基準に各ヒストグラムを調整
        if histogram_images:
            target_shape = histogram_images[0].shape
            histogram_images = [
                resize_array(hist, target_shape) if hist.shape != target_shape else hist
                for hist in histogram_images
            ]
This should eliminate the error, if anyone else has the same error as me, please let me know in the comments, etc., because I don’t know if I should send a pull request,
That’s all. This workflow was created based on the self-contradiction that I want to keep the information I used as much as possible in the generated workflow, and I want to reduce the time and effort to generate the workflow as much as possible. …… I wish I could have published it sooner, but it took me so long to create this page since I just started blogging… Please let me know if you have any questions or if you think it would be better to do this! If you have any questions or suggestions, please let me know!


コメント